Account & billing
Every TRNSCODE install activates against a trnscode.com account. This page covers the account itself: registration, sign-in, the machines bound to your seats, and the subscription that sets your seat cap.
The account is the credential the master service activates with, and the tier on the account is what the license enforces. Everything on this page happens on trnscode.com. For the other side of the same system — activating a master, the enforcement behaviour, and the Licensing panel in the web console — see Licensing.
The customer portal#
The portal is the self-service account surface at trnscode.com. It has five pages:
trnscode.com/register— create an account.trnscode.com/login— sign in, including the two-factor code step when enrolled.trnscode.com/forgot-passwordandtrnscode.com/reset-password— the password-reset pair.trnscode.com/account— the account dashboard: tier, entitlements, installs, two-factor authentication, and billing.
The portal manages the account. It does not activate an install — activation happens in the web console, at Settings → General → Licensing, using the same email and password created here.
Create an account#
- Open
trnscode.com/register. - Enter an email address and a password, and submit.
- A confirmation code is emailed to the address. Enter the code on the confirmation step.
- On confirmation you are signed in automatically and land on the account dashboard.
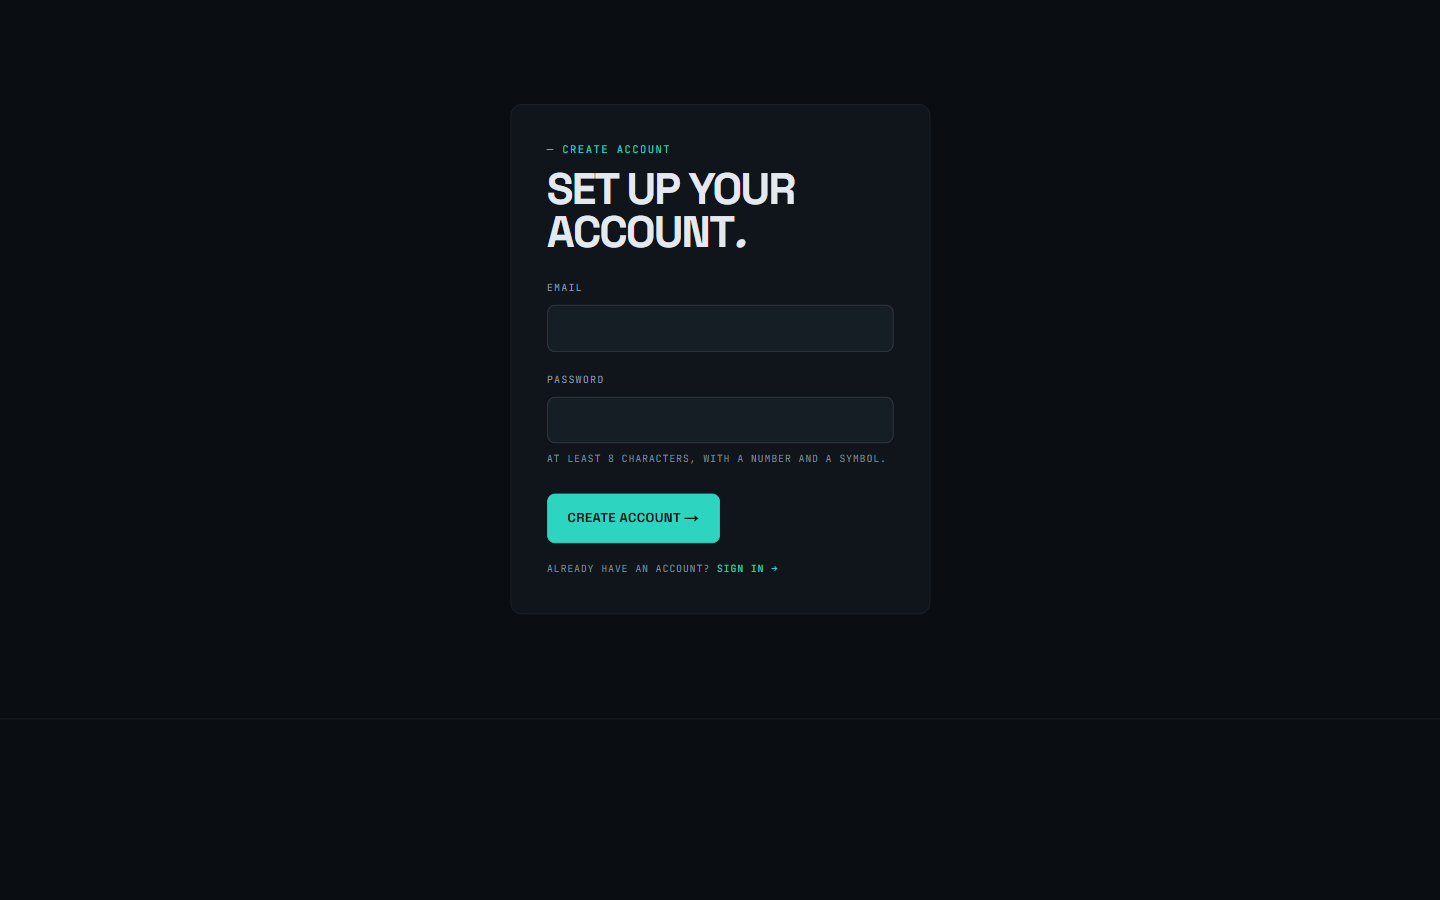
The dashboard shows the free Solo tier. The free tier is provisioned automatically at registration — no payment details are requested, and no separate activation of the account is required.
Sign in#
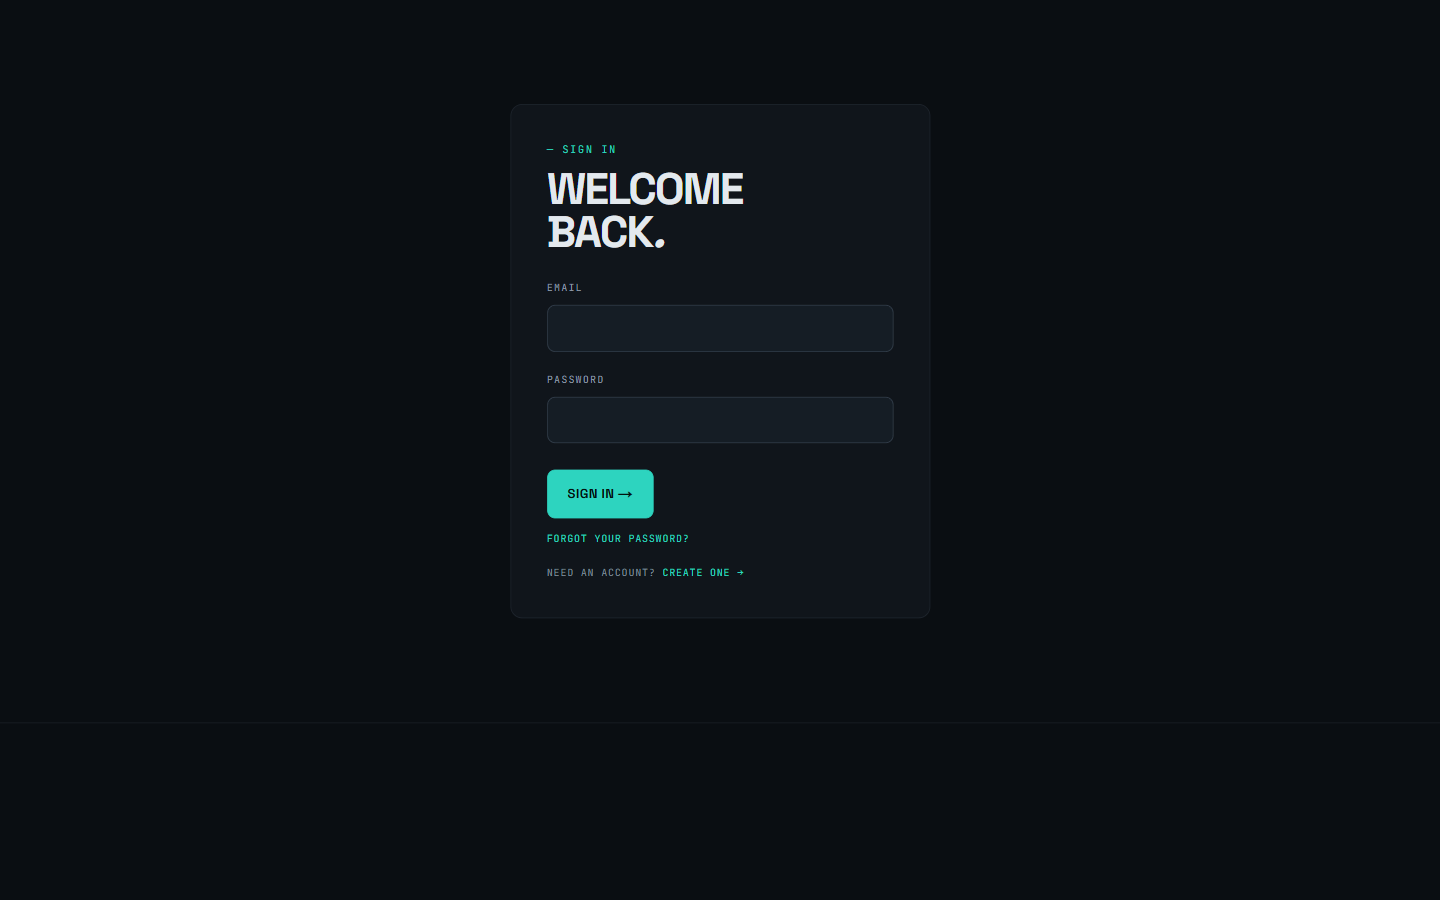
Open trnscode.com/login and enter the account email and password.
When two-factor authentication is enrolled on the account, an inline code step follows the password: enter the current code from the authenticator app. Sign-in completes only after the code is accepted. Accounts without two-factor authentication sign in on the password alone.
The sign-in form carries a Forgot password? link to the reset flow below.
Reset a forgotten password#
- Open
trnscode.com/forgot-password, enter the account email address, and submit. - Open the reset email and follow its link. The link lands on the reset page with the emailed confirmation code already applied.
- Set the new password and submit.
- Sign in at
trnscode.com/loginwith the new password.
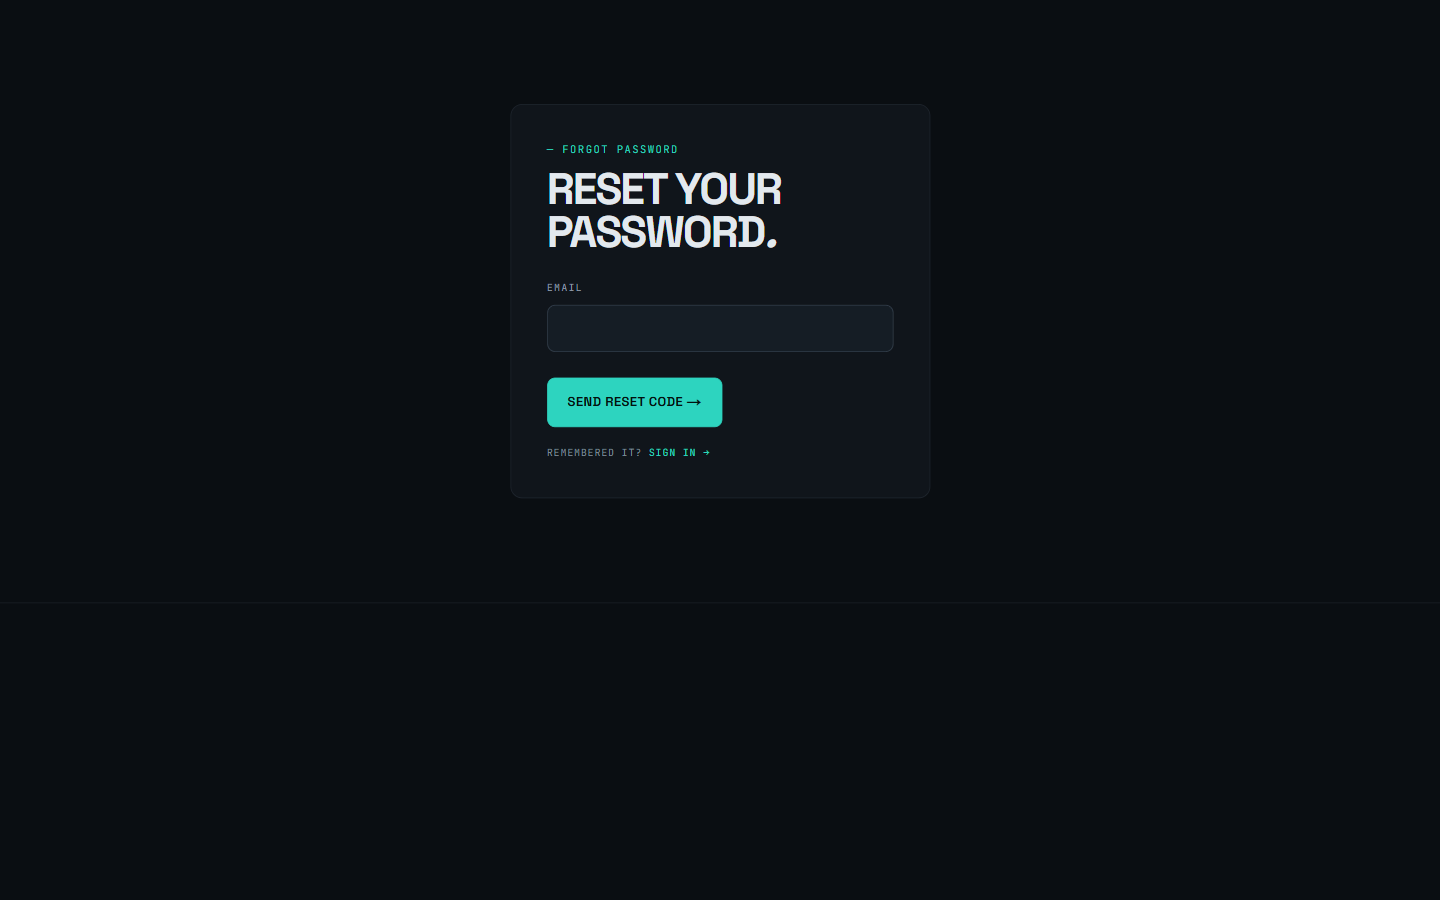
The request page responds identically whether or not the address belongs to an account. A response is therefore not confirmation that an account exists; the reset email arrives only when one does.
The account dashboard#
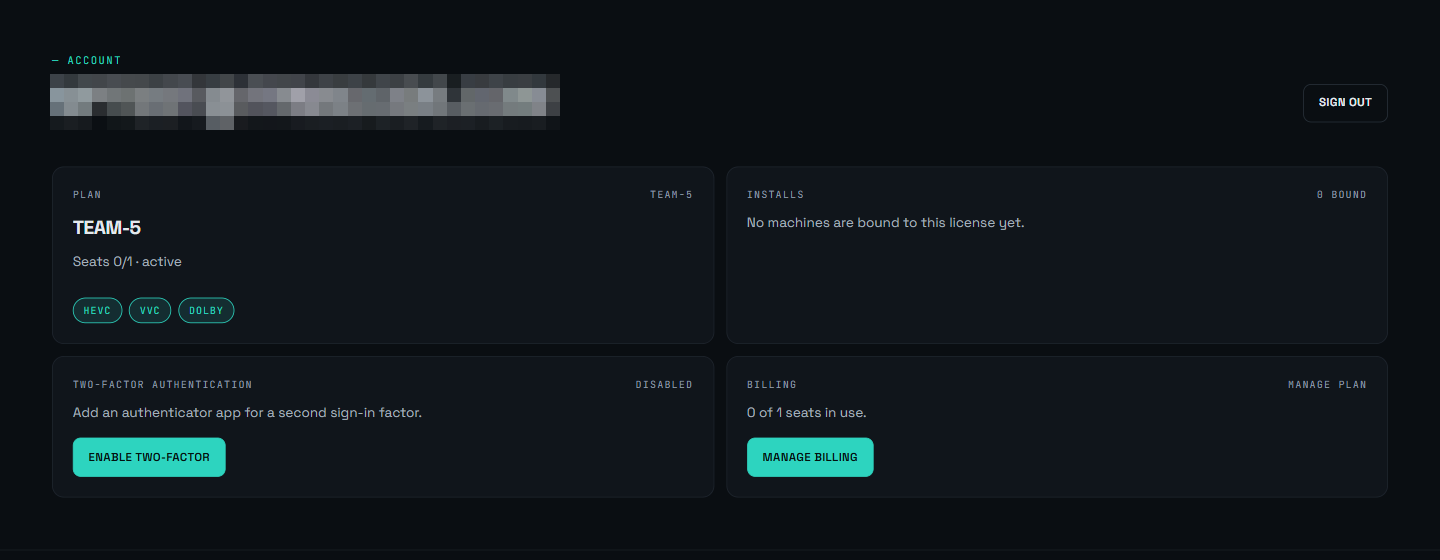
The dashboard at trnscode.com/account is the signed-in view of the account. Opening it without a session redirects to the sign-in page. It shows:
- Tier and entitlements — the current tier, its codec entitlements, and the subscription status.
- Installs — one entry per machine bound to a seat, with a release control on each entry. See Release an install.
- Two-factor authentication — enroll, disable, or replace an authenticator. See Two-factor authentication.
- Billing — the plan picker on the free tier, or subscription management on a paid tier. See Upgrade to a paid plan.
- Sign out — ends the portal session. It does not affect any activated install.
Release an install#
Activating a master binds that machine to one of the account's seats, and the binding appears in the dashboard's installs list. Releasing an install frees its seat so another machine can activate.
- Open the dashboard and locate the machine in the installs list.
- Select Release on its entry and confirm.
The entry leaves the installs list and the seat is available. A new activation on another machine can now bind it.
Release from the portal when the bound machine is retired, reinstalled, or no longer reachable. When the machine is still accessible, prefer Deactivatein its own web console, which releases the seat from the machine's side — see Licensing.
Releasing an install changes seat occupancy only. The subscription, the tier, and the seat cap are unchanged.
Two-factor authentication#
The portal supports two-factor authentication with time-based one-time passwords (TOTP) from an authenticator app. Enrollment is optional and per account, managed from the dashboard.
- Start enrollment from the dashboard. A QR code is displayed.
- Scan the QR code with an authenticator app.
- Enter the code the app displays to verify the enrollment.
Once enrolled, every sign-in requires the inline code step described in Sign in. The same dashboard panel disables two-factor authentication, and replaces the authenticator — replacement re-runs enrollment with a new QR code for the new device or app, and the superseded authenticator no longer satisfies the sign-in step.
Sign-in requires a current code for as long as enrollment stands. Before retiring or wiping the enrolled device, replace the authenticator or disable two-factor authentication from the dashboard.
Plans and seats#
Tiers differ by worker-seat count. The number in a tier's name is its worker cap; Studio Plus carries no worker cap at all. Master installs are a separate, smaller allowance — one bound master on most tiers, two on Studio 50, three on Studio Plus.
| Tier | Worker seats | Billing |
|---|---|---|
| Solo | 1 | Free — provisioned at registration |
| Team | 2 | Subscription |
| Team-5 | 5 | Subscription |
| Team-10 | 10 | Subscription |
| Studio-25 | 25 | Subscription |
| Studio-50 | 50 | Subscription |
| Studio Plus | Unlimited | Subscription |
The free Solo tier carries full codec entitlements — it is seat-limited, not codec-limited. Paid tiers raise the seat cap.
The cap is enforced by the license on each activated master: a worker brought online beyond the cap is refused enrollment, and the refused worker's own window states the reason. See Licensing for the enforcement behaviour and Add a worker for the worker side.
Upgrade to a paid plan#
Billing runs entirely on Stripe's hosted pages. The portal never collects payment details.
- Sign in and open the dashboard. On the free tier, the billing section lists the paid plans.
- Choose a plan. The browser is sent to a Stripe-hosted Checkout page.
- Complete payment on the Checkout page and return to the dashboard.
On return the dashboard confirms the purchase and refreshes until the account reflects the new tier. The grant lands after a short propagation delay — normally within a few refreshes.
A master that is already running applies the larger seat cap on its next periodic license revalidation, not at the moment of purchase. To apply it immediately, use Re-validate nowin the console's Licensing panel — see Licensing.
Card data is entered on Stripe's pages only and never touches TRNSCODE — not the portal, not the console, not the master.
Manage or cancel a subscription#
On a paid tier, the dashboard's billing section shows Manage billing in place of the plan picker. It opens the Stripe-hosted Customer Portal, where the payment method, the plan, and cancellation are handled.
- A past-due subscription is flagged with a badge on the dashboard. Settle it through Manage billing.
- Cancelling the subscription downgrades the account to the free Solo tier, and the seat cap returns to 1.
After a downgrade, each activated master applies the reduced cap on its next license revalidation. Workers beyond the Solo tier's single seat are then refused; release the installs you no longer need from the dashboard.